Making Slime at Home: Beginner Tips
Quick Answer
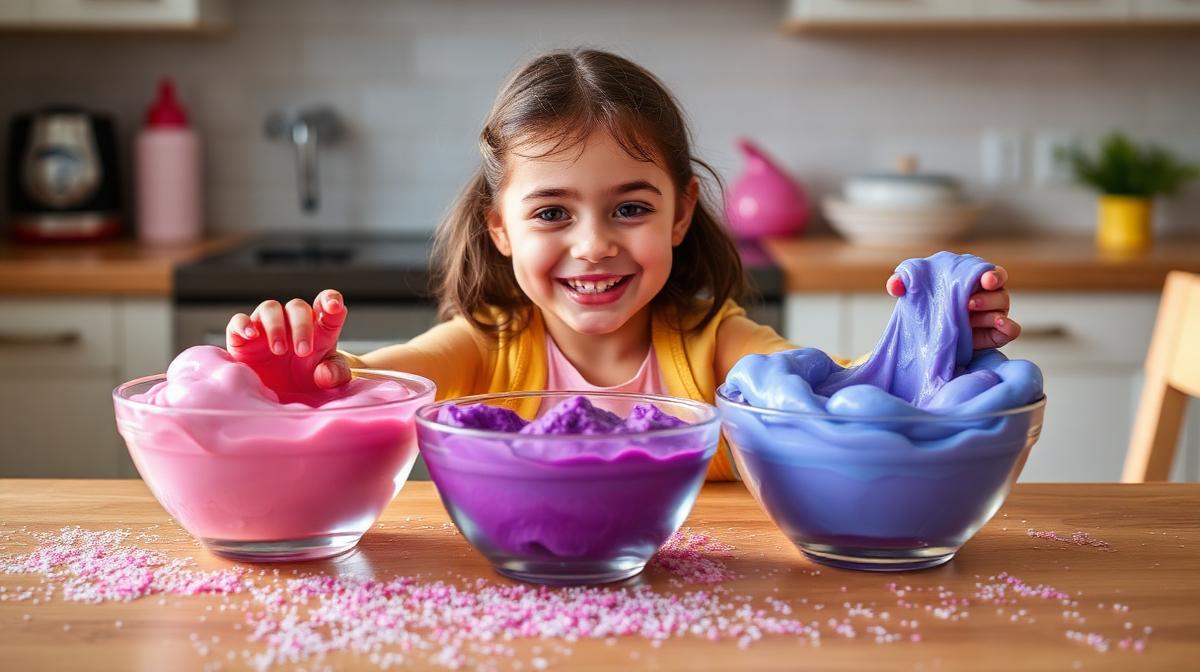
Slime is one of the easiest ways to bring sensory play, creativity and a little ASMR magic into your home. If you are brand new to making slime, this guide will walk you through safe, reliable methods, simple ingredients you can find in the UK, and the small tweaks that turn a sticky mess into a sil...
Slime is one of the easiest ways to bring sensory play, creativity and a little ASMR magic into your home. If you are brand new to making slime, this guide will walk you through safe, reliable methods, simple ingredients you can find in the UK, and the small tweaks that turn a sticky mess into a silky, stretchy win.
Before you start, the safety essentials
For beginners, safe practice matters more than perfect texture. Keep these points in mind from the outset:
- Supervise children, especially under 8, and keep slime away from mouths and eyes. Amber’s Slime Studio products are suitable for ages 3 plus, and the same age guidance is sensible for DIY play with close adult supervision.
- Use PVA school glue that is labelled non toxic. Avoid borax powder. A small amount of boron can come from saline solutions, so handle all activators with care and store them out of reach.
- Wash hands before and after play. Cover the workspace with baking parchment or a silicone mat for simpler clean up.
- If anyone has sensitive skin or eczema, use gloves and keep sessions shorter. Discontinue use if irritation occurs.
For broader consumer guidance, see the Office for Product Safety and Standards, which has issued public advice on slime safety for families. You can read it on GOV.UK, search for Office for Product Safety and Standards slime safety advice or visit this link: https://www.gov.uk/government/news/slime-safety-advice-for-parents
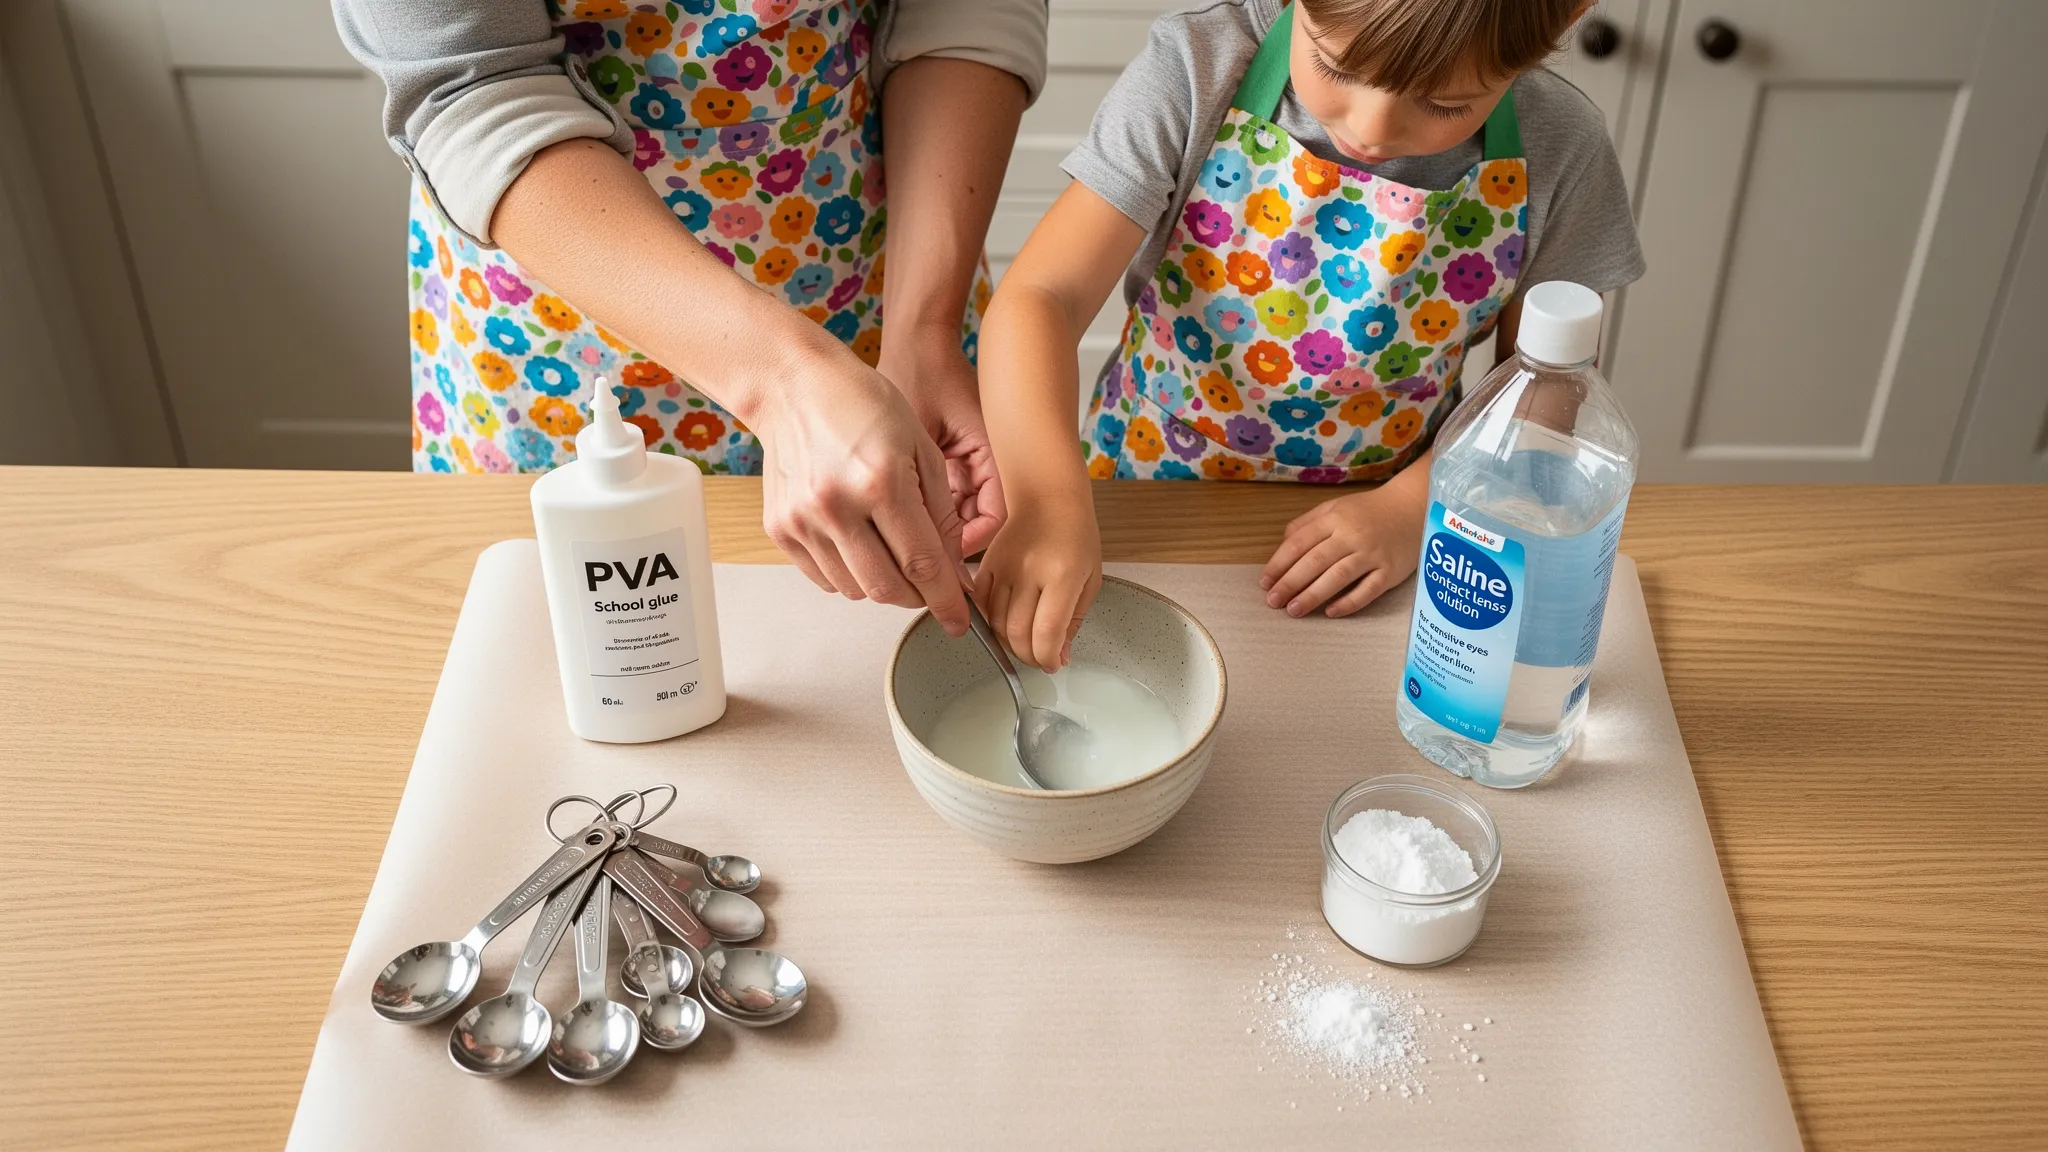
The simplest beginner method, no borax powder
This method uses everyday UK ingredients and avoids borax powder. The key is to add the activator slowly and then knead, which reduces stickiness.
Ingredients, makes one small batch:
- 120 ml white PVA school glue, non toxic
- 1/2 teaspoon bicarbonate of soda
- 1 to 2 tablespoons saline contact lens solution, choose one that lists boric acid or sodium borate in the ingredients
- Optional, a drop or two of food colouring, a teaspoon of plain lotion or a few drops of glycerine for softness
Steps:
- In a bowl, pour in the glue, add colouring if using, and stir until the colour is even.
- Sprinkle in the bicarbonate of soda and mix until fully dissolved. This helps the slime set.
- Add 1 tablespoon of saline solution, drizzle it in while stirring. The mixture should start to pull away from the sides.
- Once it clumps, pick it up and knead for 2 to 3 minutes. Kneading is what turns tacky glue into stretchy slime.
- If it is still sticky after kneading, add saline a few drops at a time, then knead again. If it becomes rubbery, add a pea sized amount of lotion or a teaspoon of warm water and knead to soften.
Tip: Keep a separate bottle of saline only for crafts, not for eyes, once opened and used for slime.
Boron free sensory alternatives for younger children
If you prefer to avoid contact lens solution altogether, try these tactile, short session options. They will not behave exactly like classic slime, but they are brilliant for early sensory play.
- Oobleck, mix 2 parts cornflour with 1 part water. It is a non Newtonian fluid that drips slowly when you let it rest and feels firm when you squeeze it. Use for short sessions, then bin it.
- Psyllium gel, simmer 1 tablespoon psyllium husk with 240 ml water in a microwave safe bowl, stir every 30 seconds until gelled, then cool completely. Always allow to cool fully and supervise, it can get hot during cooking.
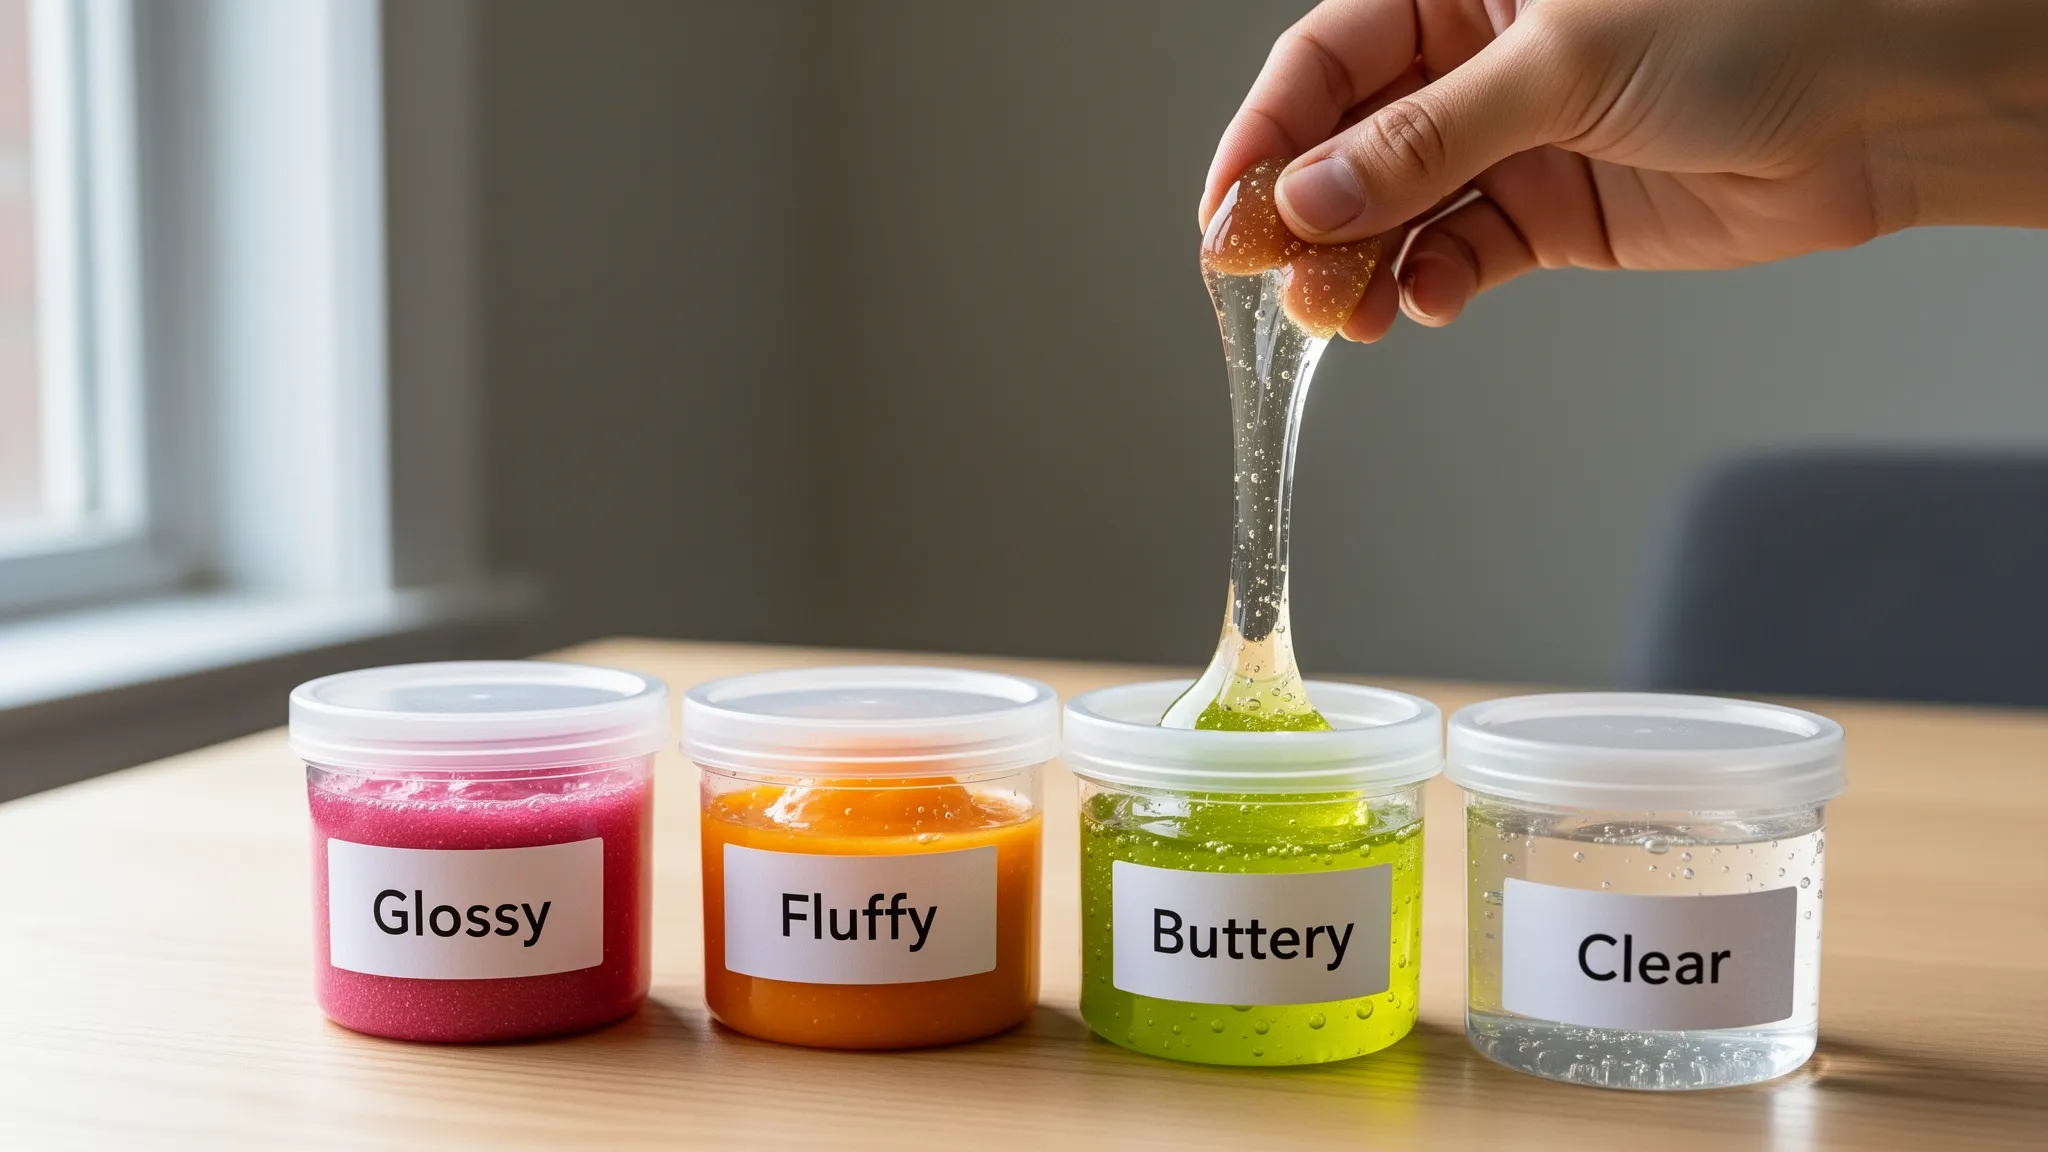
Tuning texture for satisfying ASMR
Small additions change the feel and sounds of slime. Start with half batches while you test.
- Softer and stretchier, knead in a few drops of glycerine or a teaspoon of plain lotion. Less is more.
- Fluffy, fold in whipped shaving foam a tablespoon at a time. This creates a pillowy texture, best used within a few days.
- Glossy, focus on thorough kneading, then let the slime rest in an airtight pot for a few hours. Resting reduces bubbles and increases shine.
- Bubble pops, a slightly thicker slime traps air better. Spread it, fold, and press to get crisp pops.
Troubleshooting, quick fixes
| Problem | Likely cause | Quick fix |
|---|---|---|
| Too sticky after kneading | Not enough activator, warm hands, high humidity | Add a few drops of saline, knead 1 to 2 minutes, let it rest 5 minutes |
| Rubbery or tears easily | Too much activator | Knead in a pea sized amount of lotion or a teaspoon of warm water, or mix in a small spoon of fresh glue |
| Stringy, wet | Activator added too quickly | Pause, knead until smooth, add a teaspoon of glue to rebalance if needed |
| Lumpy | Bicarbonate not fully dissolved | Keep kneading to break up, next time dissolve powder fully before activating |
| Colour staining hands | Too much dye or low quality colour | Use less dye, mix dye into glue before activating, wash hands, add a drop of lotion to create a barrier before play |
| Add ins fall out | Slime too stiff | Soften slightly with lotion or a few drops of glycerine and knead, then fold in add ins again |
Storage, hygiene and clean up
- Storage, keep slime in an airtight container away from heat and sunlight. Most DIY slimes feel best in the first couple of weeks. If it dries, add a few drops of warm water and knead. If it gets sticky after a warm day, chill the closed pot for 10 minutes and then knead.
- Clean up, fresh slime lifts dried slime, dab a small piece onto residue and peel away. For fabrics, remove excess, soak with cool water, then work a little laundry detergent into the spot before washing. For hard surfaces, use warm soapy water. White vinegar can help lift dried bits from some surfaces, test in a discreet area first.
- Disposal, never pour slime or glue down the sink, bin it in household waste.
UK ingredient checklist for beginners
- White PVA school glue, non toxic and child safe on the label
- Bicarbonate of soda
- Saline solution that lists boric acid or sodium borate (optional if you choose oobleck or psyllium alternatives)
- Optional, food colouring, lotion, glycerine, safe add ins like foam beads for older children only. Avoid small beads for under 3 years.
When DIY is not the vibe, go handmade without the hassle
If you love the look, sound and stress relieving feel of slime but want guaranteed texture and no mess in the kitchen, try the ready made route. Amber’s Slime Studio crafts premium slimes fresh to order in the UK using non toxic ingredients, trusted by families for safe sensory play. You get fast UK delivery, and free delivery when you order 5 or more slimes, plus British made quality and helpful slime care guides. Explore our range and see behind the scenes on Instagram.
Discover premium handmade slimes here, https://slime-studio.com
Final tips to set up every session for success
- Work small, make half batches until you find your favourite feel.
- Go slow with activator and knead more than you think, kneading is the secret.
- Keep a slime only spoon and bowl so your kitchen utensils stay spotless.
- Store properly and refresh textures with tiny adjustments instead of big ones.
With the right basics and a little patience, you will go from first time maker to confident slime tuner. Whether you mix at home or pick up a beautifully finished pot from Amber’s Slime Studio, enjoy the mindful, squishy calm that makes slime such a favourite for stress relief and ASMR.
Written by Amber
Amber is the founder of Amber's Slime Studio with 3+ years of experience crafting premium handmade slimes. She's passionate about creating safe, high-quality slimes that bring joy and sensory satisfaction.
Learn more about Amber →